Open the Admin UI
Upload page template
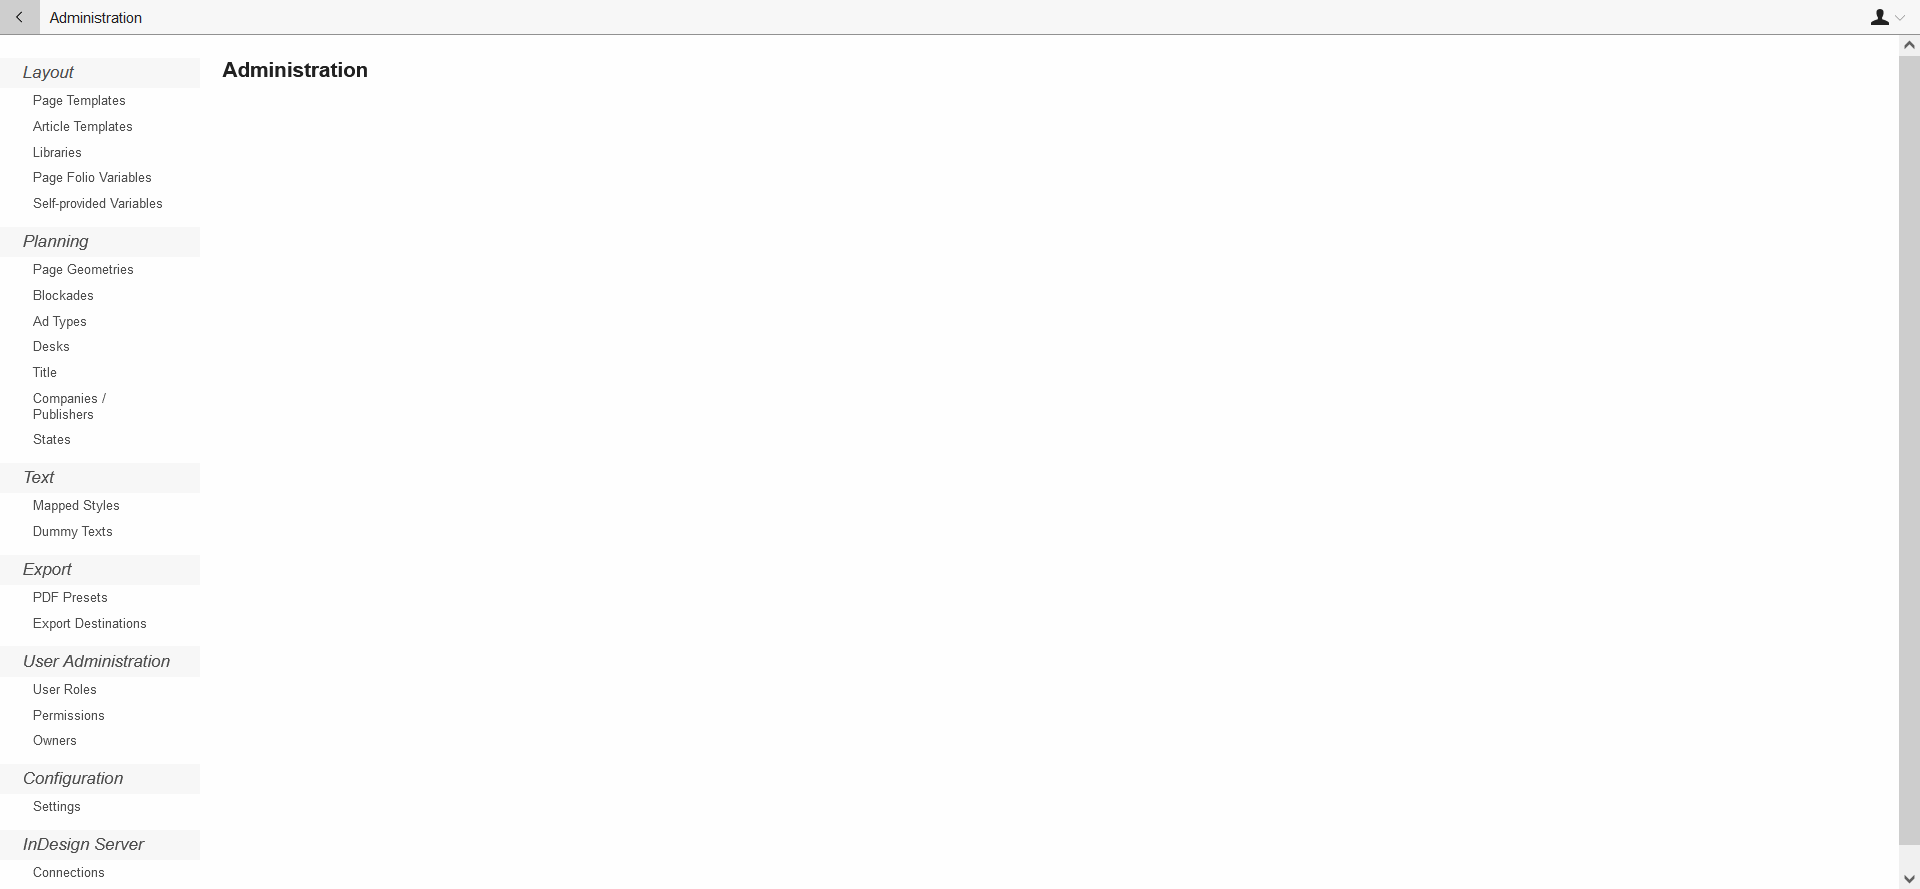
- Open the administration menu.
- In the menu on the left, under Layout, select Page Templates.
- Click the + button. A dialog window will open.
- Enter the name and, if necessary, the group name of the page template.
- Select the desired InDesign document.
- Confirm your entries with Create.
Changes to the page template
- If you have made changes to a page template, open the Planner administration menu.
- Upload the page template again. Alternatively, you can also edit an existing template.
- Reassign the template to the publication.
Editing or deleting a page template
- Open the administration menu.
- In the menu on the left, under Layout, select Page Templates.
- In the list, click the page template you want to edit or delete.
- To edit a page template, click the pencil to the left of the preview image. Now you can customize the name, group name, and InDesign file of the page template.
- To delete a page template, click the trash icon to the left of the preview image.
Upload article template
- Open the administration menu.
- In the menu on the left, under Layout, select Article Template.
- Click the + button. A dialog box will open.
- Enter the name of the article template. Under Name of the InDesign library, you can enter the name of the library that contains the content group placed in the article template. In Name of the library object, you can enter the name of the content group in the library. Optionally, you can add a description and upload a preview.
- Select the desired InDesign document.
- Confirm your entries by clicking Create.
Uploading Content Group libraries
Content group libraries that have already been created can be uploaded in Planner and then used in the article layout.
- To upload a content group library, open the administration menu.
- In the menu on the left, under Layout, select Libraries.
- Click the + icon.
- Enter a name and select the desired file.
- Confirm your entries with Create.
Define page geometries
- Open the administration menu.
- Under Planning, select Page Geometries.
- Click on the + to create a new page geometry for publications. A dialog box opens.
- Enter the name, page dimensions and page margins.
- If you want the new format to be the default format, check the Default page geometry checkbox.
- Confirm your entries with Create.
Edit or delete page geometries
- Open the administration menu.
- Under Planning, select Page Geometries.
- Click on the page geometry you want to edit or delete.
- To edit the page geometry , click the pencil on the left edge. Now you can adjust the name and dimensions of the page geometry.
- To delete the page geometry, click the trash can to the left of the preview image.
Set style assignments
Basically, the texts from the Web CMS are inserted into the correct text boxes using the content type information. The paragraph and character styles of the text box are used and InDesign follow-on styles are also applied. If individual paragraphs or characters are to be specifically styled in the Web CMS, explicit style mapping is necessary. Typical examples are intermediate lines or placemarks. The style mappings are set in the Administration menu and define the relationship between the CSS class in the Web CMS and the InDesign styles.
- Open the administration menu.
- Under Text, select Mapped Styles.
- Click the + to create a new mapped style.
- Enter the name of the cross-media style from the CMS, for example “interline”.
- Enter the names of the InDesign styles that should correspond to the cross-media style, for example: “interline large”, “interline small”.
Now, when an article containing an interline is placed in InDesign, the first InDesign style available in the document is applied.
Because you can define paragraph and character styles with the same name differently in different documents, very few style mappings are necessary in typical installations.
Edit or delete mapped styles
- Open the administration menu.
- Under Text, select Mapped Styles.
- Click the mapped style you want to edit or delete.
- To edit, select the pencil icon next to the name of the mapped style.
- To delete, select the trash icon next to the name of the mapped style.